
What I Love About My Asian Pear Crisp
I built this dessert around what Asian pears do best. They are very juicy and hold their shape in the oven. That’s the texture I wanted this crisp to show off.
- I keep the cinnamon light on purpose. That’s just enough to warm the filling without masking the Asian pears’ natural mild, aromatic sweetness.
- Real maple syrup in the topping echoes those same delicate pear notes instead of covering them up.
- The topping turns properly crisp and stays crunchy. I use old-fashioned oats and melted butter to ensure that.
- A scoop of vanilla ice cream with an extra drizzle of maple syrup turns this into a memorable dessert.
Key Ingredient Notes
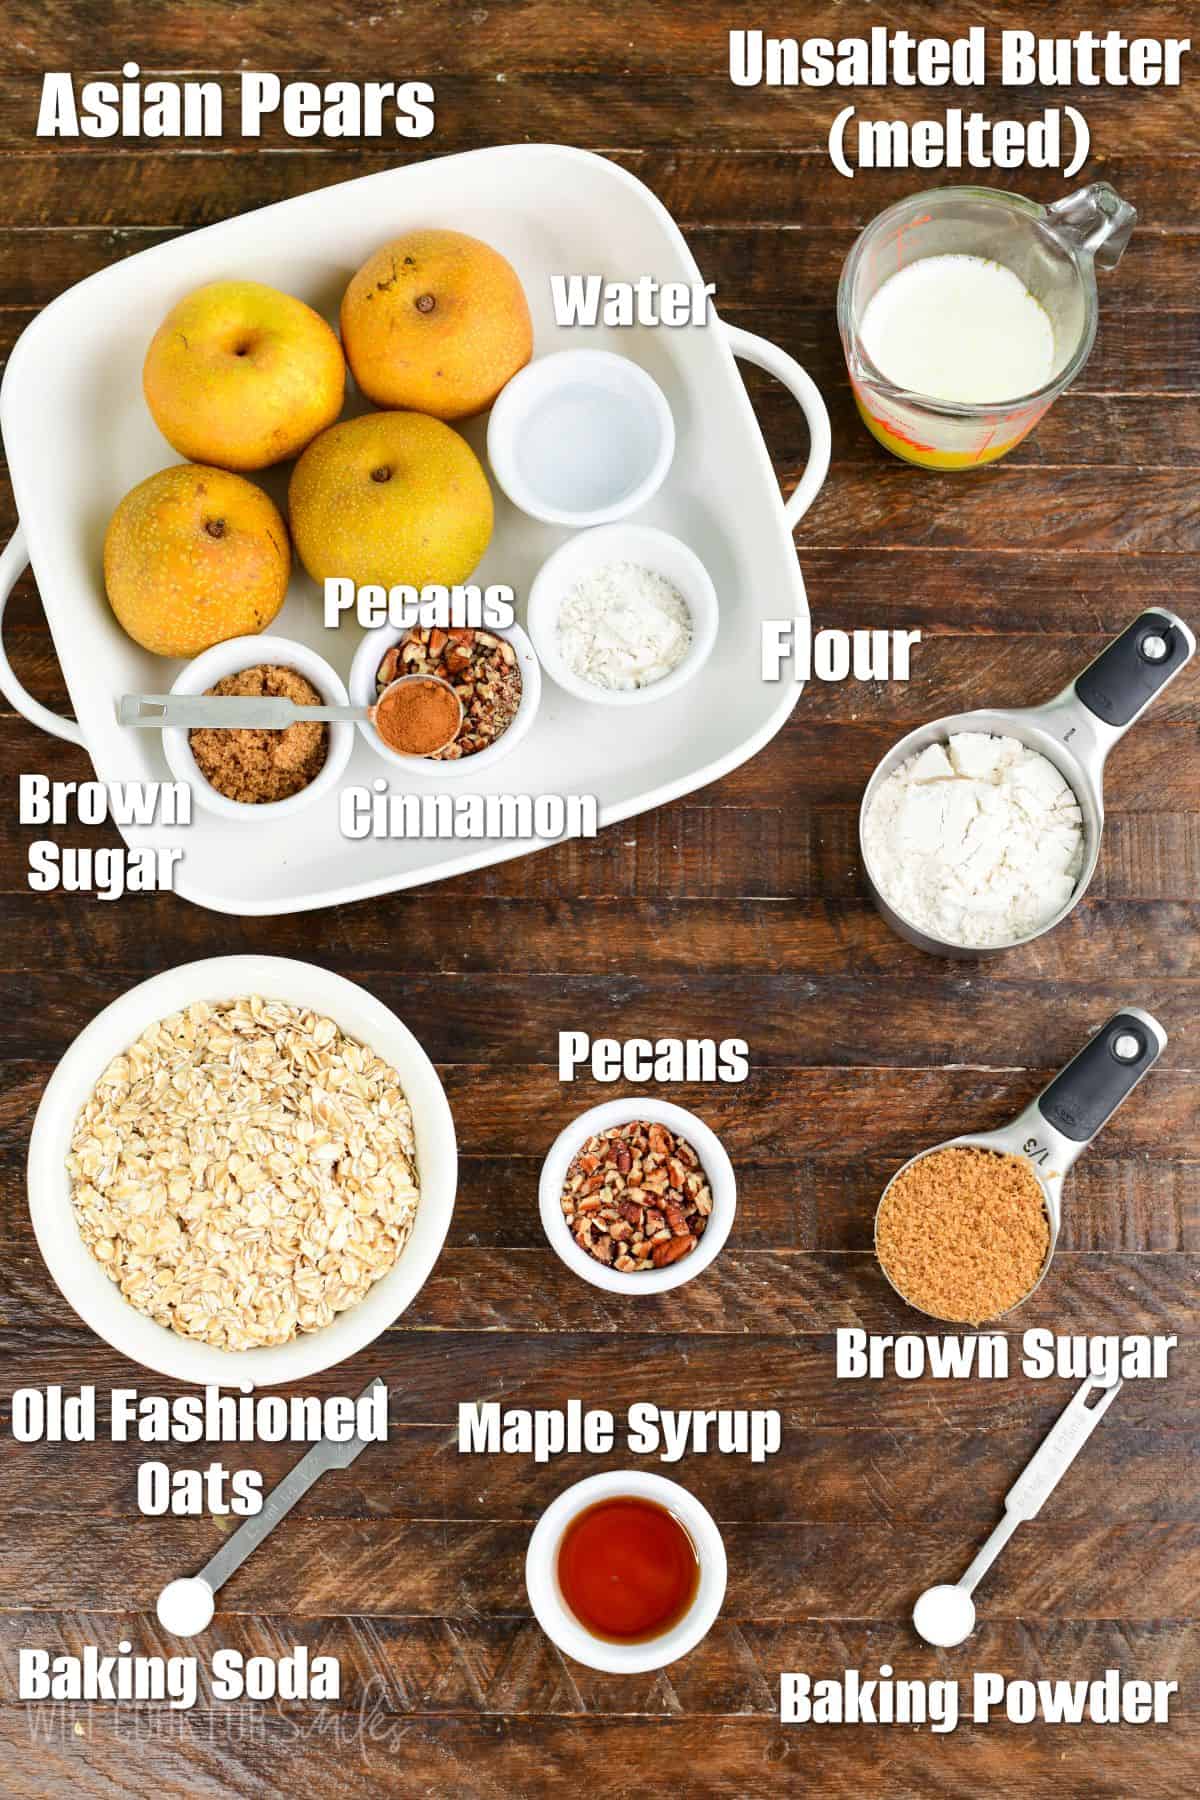
- Asian pears: Sometimes called apple pears, these are crisp and juicy with a mild, sweet floral flavor. They’re closer to biting into an apple than a traditional soft pear. Unlike apples, they hold their shape and stay firm in the oven. Don’t expect the filling to get as soft as a classic apple crisp. Look for pears with golden skin that are firm but give slightly under gentle pressure. That’s when they’re at their sweetest.
- Old-fashioned oats: Stick with old-fashioned rolled oats here, not quick oats or instant oats. They hold their texture and give the topping a heartier crunch.
- Pure maple syrup: Use real maple syrup, not pancake syrup. Imitation syrup is mostly corn syrup, and it won’t give you the same flavor in the topping.
- Pecans: These add crunch to both the filling and the topping. Feel free to swap in walnuts, or leave them out and stir a handful of raisins into the filling instead.
How to Make Maple Asian Pear Crisp

- Chop the pears: Wash your Asian pears first since we are keeping the skin on. Keeping the skin will help with the structure of chopped pears and you also retain the nutrients. Cut, core, and chop the Asian pears into small pieces.
- Season the filling: Toss the pears with brown sugar, flour, cinnamon, and pecans. Spread it in the baking pan and drizzle the water so the filling doesn’t dry out while it bakes.

- Make the topping: Combine the oats, flour, brown sugar, baking powder, and baking soda in a separate bowl. Mix in melted butter and maple syrup until everything turns crumbly.
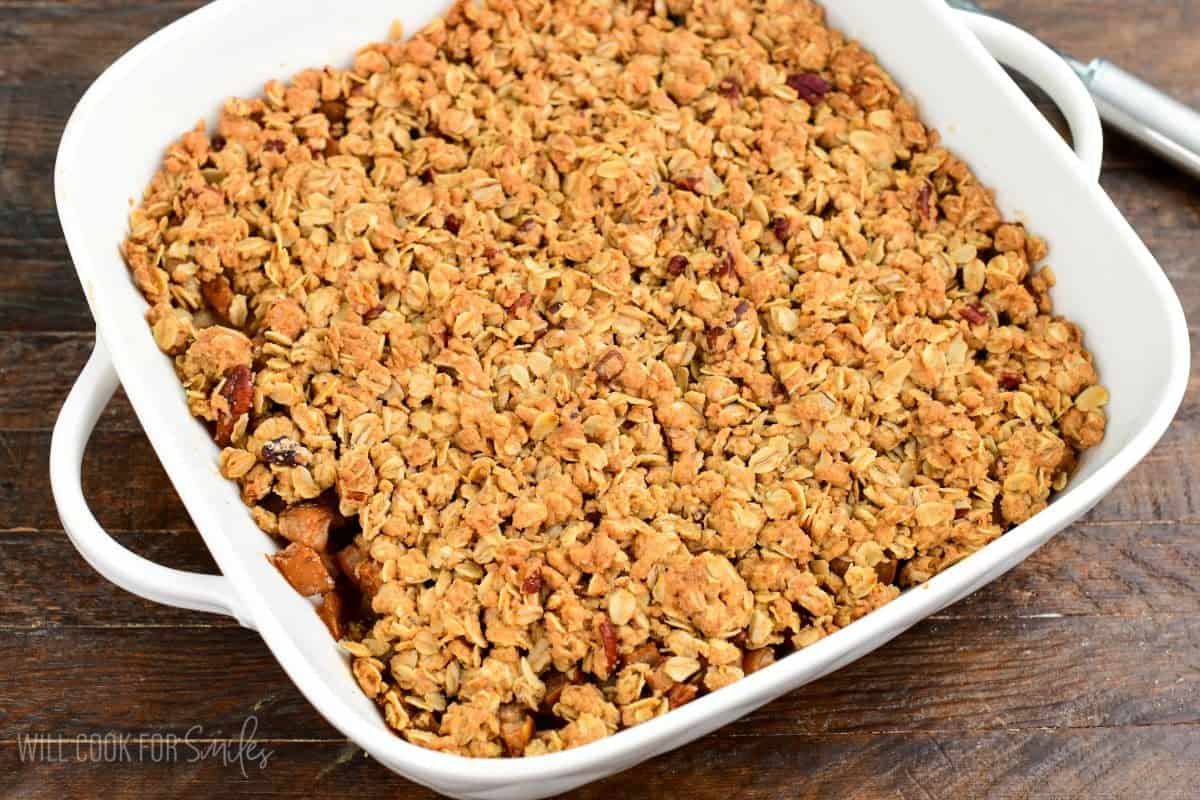
- Assemble and bake: Spread the pear mixture into your baking dish and cover it evenly with the oat topping. Bake until the topping is deep golden and the fruit bubbles around the edges. Asian pears hold their shape rather than breaking down.
PRO TIP: I look for Asian pears with golden skin and a little give when I press on them. That’s usually when they taste the sweetest.
Ways to Serve Asian Pear Crisp
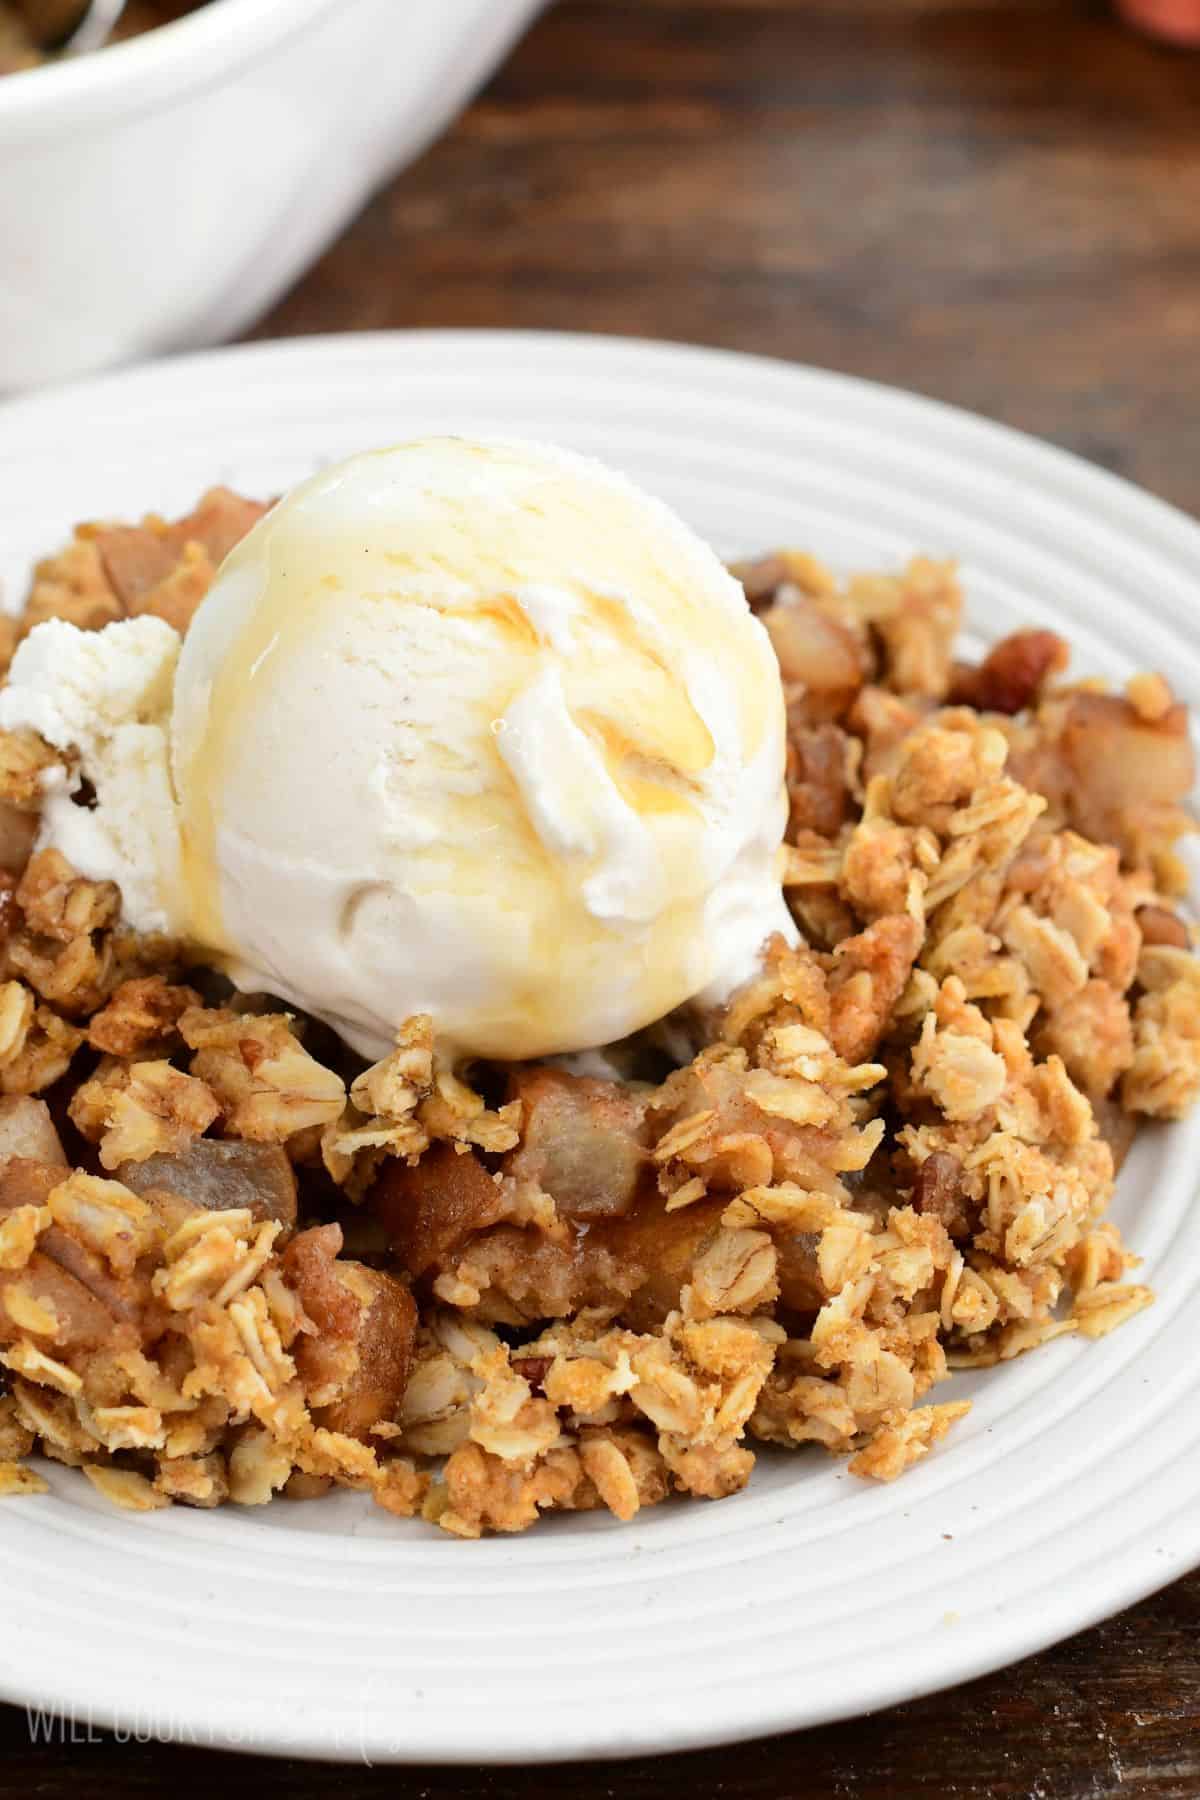
- Serve it warm with a scoop of vanilla ice cream and an extra drizzle of maple syrup.
- Spoon a dollop of creme fraiche over a warm bowl instead of ice cream.
- Spoon leftovers over vanilla yogurt for a fall breakfast. Or, layer chunks of the baked crisp with vanilla yogurt in a glass for a fall parfait.
- Set it out alongside my apple crisp for a bigger fall dessert spread.
- Serve a bowl alongside a mug of coffee stirred with my pumpkin spice syrup.

Storing, Freezing, and Reheating Asian Pear Crisp
- Store: you can store it in the same, cooled, baking dish just make sure to cover airtight. Or transfer into an airtight container. Store in the refrigerator for 3-4 days.
- Freeze: you can freeze this crisp before or after baking.
- To freeze unbaked, assemble it in a freezer-safe dish, wrap tightly, and freeze for up to 3 months. Bake straight from frozen, adding about 10-15 extra minutes. Just note that Asian pears tend to get mushy and soft once frozen and thawed.
- To freeze after baking, bake in freezer friendly baking dish, let the crisp cool completely, wrap tightly, and freeze for up to 3 months. Thaw overnight in the refrigerator before reheating.
- Reheat: warm individual portions in the microwave, or reheat the whole dish in a 350°F oven until warmed through. The oven does a better job of bringing the topping’s crunch back.
Asian Pear Crisp Recipe FAQs
Look for golden skin without much green left, and gently press the pear. A ripe Asian pear will feel firm but give ever so slightly. It should also smell lightly sweet.
Asian pears are naturally crisper and more juicy than apples. That texture holds up through cooking instead of breaking down. They are great in a recipe like a crisp or cobbler but needs extra cooking for pies.
Substitute a 1:1 gluten-free all-purpose flour for the regular flour in both the filling and the topping. I’m gluten intolerant myself. King Arthur’s 1:1 gluten-free flour is the one I regularly use in recipes like this one, with good results.
Walnuts work well in place of pecans. If you’d rather skip nuts altogether, you can omit them or stir a handful of raisins or dried cranberries into the filling instead.
You can freeze fresh Asian pears, and it’s not a food safety concern. They will soften and turn noticeably mushier once thawed, since they’re so juicy to begin with. They’re best used in baked recipes like this crisp rather than eaten fresh after freezing.
Double all of the ingredients for a 9×13 pan. No need to add extra time in the oven since bake time depends more on thickness. Watch for the same visual cues: deep golden topping and bubbling fruit around the edges.
More Recipes From Me
DID YOU MAKE THIS RECIPE? PLEASE leave a 🌟 star rating! Let me know how you liked it by leaving the 📝 comment below or share and tag me on social media @willcookforsmiles. DON’T FORGET to subscribe to my newsletter!
Asian Pear Crisp Recipe
Ingredients
Asian pear layer:
Crisp layer:
Instructions
-
Preheat the oven to 350℉ and grease a 9×9 baking dish or a 9 inch round pie dish. (You can use 8×8 baking dish, just add about 5 more minutes to bake time.)
-
Wash, dry, core and chop the Asian pears. Combine the chopped Asian pears, sugar, flour, cinnamon and pecans in a bowl and mix until everything is evenly distributed.
-
Spread the pears in the greased baking dish. Pour the water over the pears, that will keep more moisture in the dish.
-
In the bowl, combine the ingredients for the crisp and mix very well, until all incorporated. Spread the crisp over the pears, evenly.
-
Bake for about 40 minutes.
Notes
- Gluten-free: substitute a 1:1 gluten-free all-purpose flour for the regular flour in both the filling and topping.
- Dairy-free: substitute a plant-based butter alternative in the same amount.
- Nut-free: omit the pecans and stir a handful of raisins into the filling instead.
- If you simply want to use a different nut, walnuts, almonds, or hazelnuts work great.
- Pan type: metal conducts heat fastest and will brown faster, start checking the crisp after 35 minutes in a metal pan. Glass or ceramic bakes a bit more gently, so check around 40 minutes. Whatever dish you use, rely on the visual cues, a deep golden topping and bubbling fruit, rather than the clock.
Nutrition
Originally published on Will Cook For Smiles in September, 2013.
All images and text ©Lyubov Brooke for ©Will Cook For Smiles. Please do not use my images without prior permission. If using my posts in collections and features, please link back to this post for the recipe.
Disclaimer: Nutrition information shown is not guaranteed to be 100% accurate as most ingredients and brands have variations.